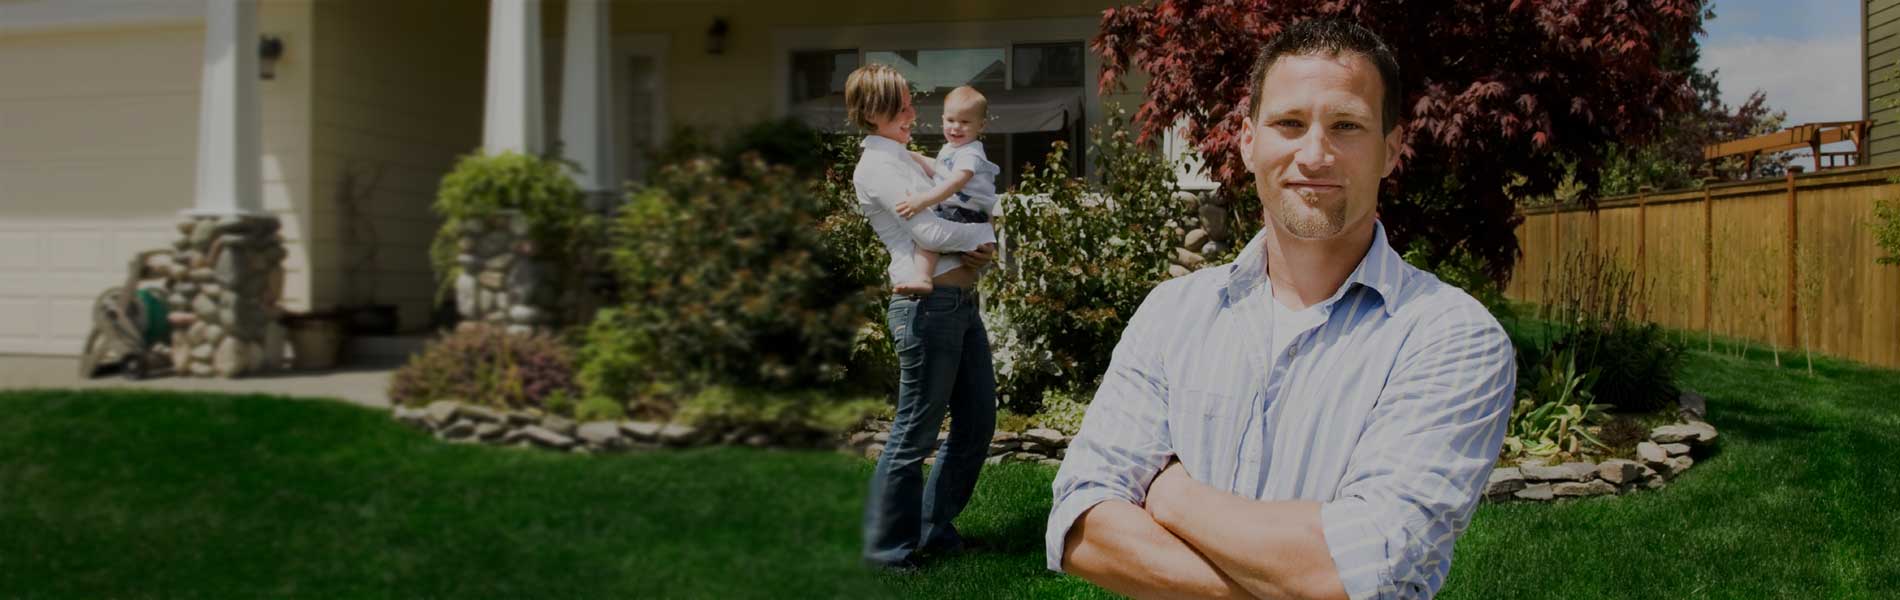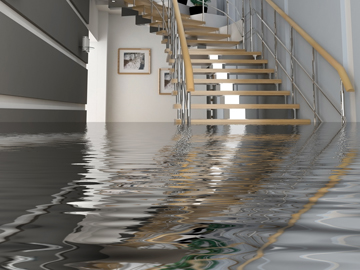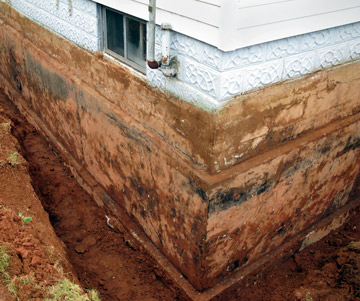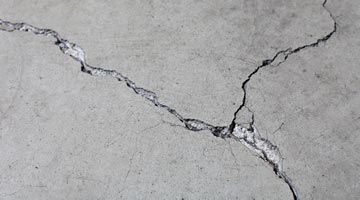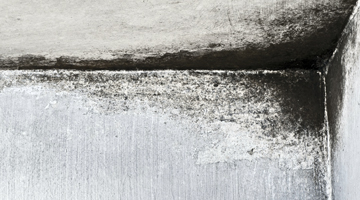
The primary goal of our professional Michigan Basement Waterproofing contractors remains simple: to keep your basement dry by eliminating basement water problems. Our safe, patented and 100% effective basement waterproofing method can be used on foundations consisting of poured concrete, block, brick, stone and more. Don’t expose your family to the many health hazards caused by a wet basement that can have devastating effects on your loved ones.
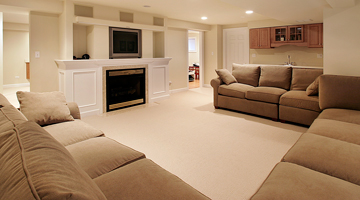
By delivering top-quality Michigan Basement Waterproofing services and always exceeding customer expectations, our knowledgeable Grand Rapids waterproofing contractors will effectively waterproof your basement. Our professional and proven services will leave you and your family with the piece of mind that comes with having a safe and dry basement.
Whether you are faced with a mold problem, water leak, foundation crack, commercial property water problem, crawl space or just a water presence in your basement, our affordable basement waterproofing system combined with and our expert team of Michigan Basement Waterproofing contractors will get the job done – on time and on budget!
If you need basement waterproofing in Grand Rapids or have a wet basement in greater Grand Rapids, Michigan Basement Waterproofing has the answer to your water or wet basement problem. Stone, brick, block or poured basement walls and floors can be waterproofed with our quality basement waterproofing products and workmanship.
If your basement is wet or leaking, don't delay! For more information on the professional and affordable basement waterproofing services offered by Michigan Basement Waterproofing, contact us here.